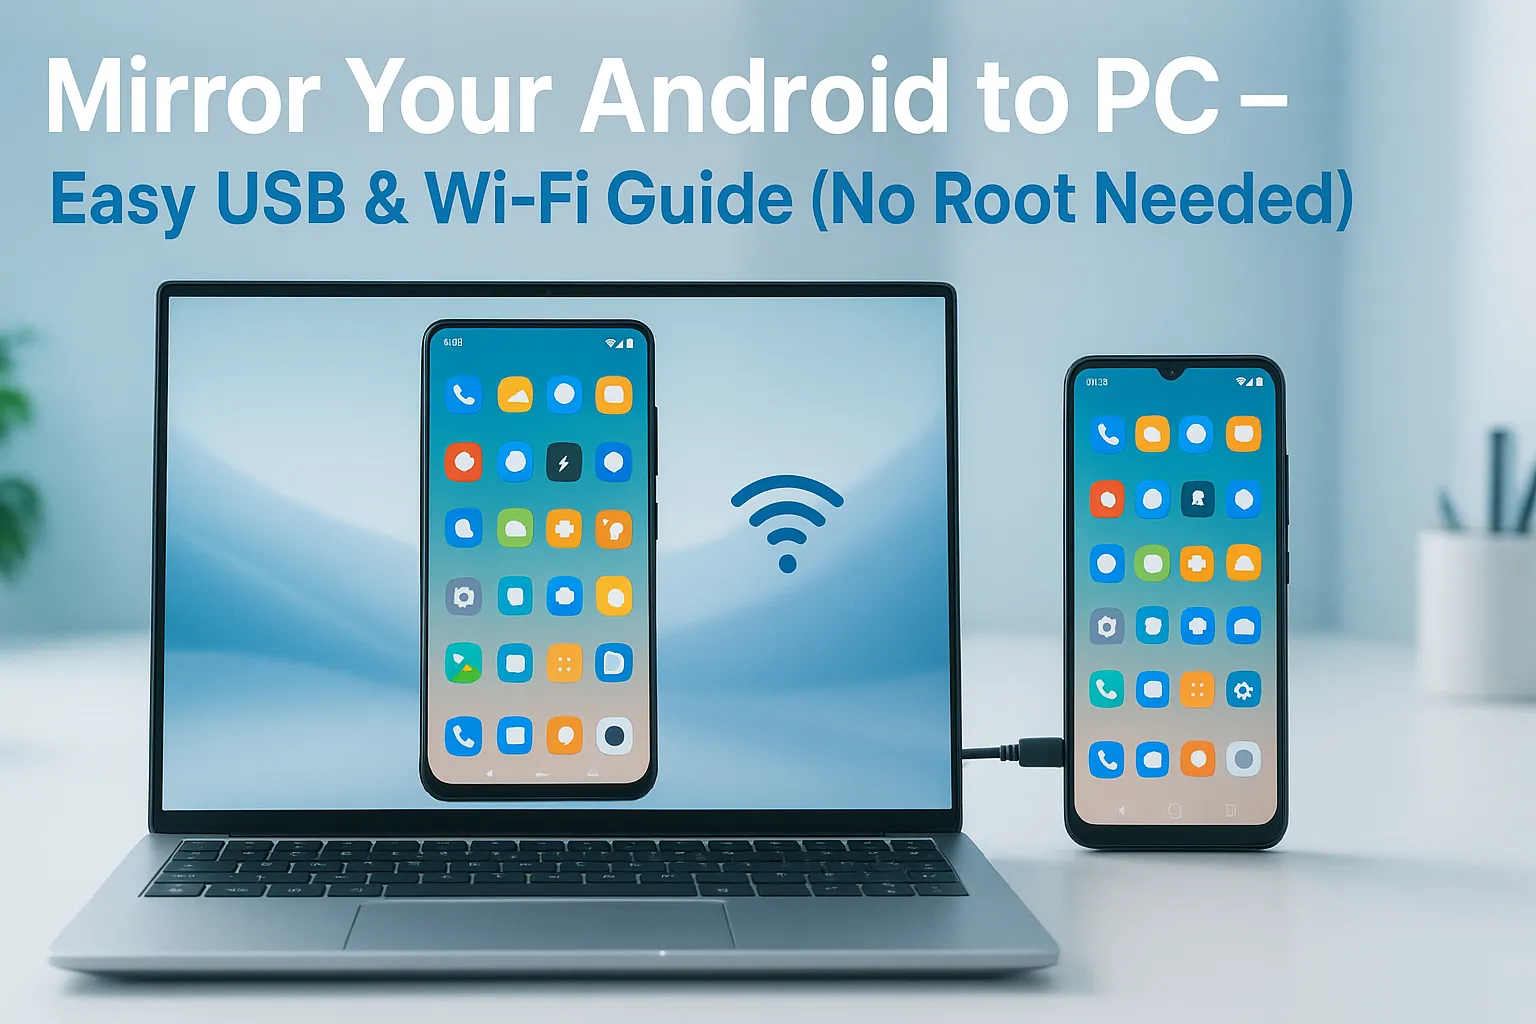
Have you ever wanted to mirror Android screen to PC but didn’t know where to start or just got overwhelmed by a bunch of clunky, ad-filled apps? Maybe you’re attending online classes, presenting something at work, or just want to enjoy mobile games or videos on a bigger screen. Whatever the reason, mirroring your Android screen to your PC can make life a lot easier and no, you don’t need root access, paid apps, or hours of frustration.
I’ve done this countless times for tutorials, screen recordings, and even a few gaming sessions. So let me walk you through the easiest and cleanest ways to mirror Android Screen to PC or Laptop, using either USB or Wi-Fi.
What is Screen Mirroring?
In simple terms, screen mirroring lets you cast everything from your Android phone onto your PC screen in real-time. Whether it’s videos, games, apps, or just your home screen it appears exactly the same on your laptop. And if you use the right tool, you can even control your phone from your computer.
There are two ways to do it:
- Using a USB cable (stable, low-latency)
- Using Wi-Fi (wireless, easier for casual use)
Let’s break both down step-by-step.
Method 1: Mirror Android Screen to PC via USB (Best for Performance)
If you want zero lag, smooth control, and the ability to record the screen, this is the method I always recommend. It uses a free open-source tool called Scrcpy (don’t worry, weird name awesome results).
What You’ll Need:
- A Windows PC or laptop
- A USB cable (your regular charging cable is fine)
- Download Scrcpy from GitHub
- USB debugging enabled on your Android phone
Step-by-Step Guide:
- Enable Developer Options on Android:
- Go to Settings > About Phone
- Tap the Build Number seven times until your phone says, ‘You’re now a developer!
- Turn On USB Debugging:
- Download Scrcpy:
- Visit Scrcpy GitHub
- Download the latest .zip file and unzip it to get started
- Connect Your Phone to PC via USB
- Run Scrcpy:
- Open the extracted folder
- Double-click scrcpy.exe
That’s it. Your Android screen should pop up on your PC in seconds!
Why I Recommend Scrcpy:
- No ads, no install, no bloat
- Ultra-smooth screen casting
- You can use your mouse + keyboard to control the phone
- Works even with budget phones
Method 2: Mirror Android Screen to PC Wirelessly (Wi-Fi)
Don’t want to deal with cables? This method works just fine for casual use like browsing or watching videos. You’ll use an app like AirDroid, Vysor, or LetsView.
Personally, I find AirDroid the easiest for beginners.
🔧 What You’ll Need:
- Both your Android phone and PC connected to the same Wi-Fi network
- AirDroid app on your phone
- AirDroid web on your PC browser
Step-by-Step (Using AirDroid):
- Install AirDroid from Play Store
- Create a free account and log in
- Visit web.airdroid.com on your PC and log in
- Click on “Screen Mirroring”
- Approve the connection on your phone
Boom. You should now see your phone mirrored live in the browser.
USB vs Wi-Fi: What’s Better?
| Feature | USB (Scrcpy) | Wi-Fi (AirDroid) |
| Lag/Latency | Very Low | Moderate |
| Requires Internet | No | Yes (same Wi-Fi) |
| Controls Phone | Yes | View only (free) |
| Installation | Minimal (one ZIP) | App + Web |
| Recording Support | Yes | Limited |
My Verdict:
- If you want smooth performance and control, use USB + Scrcpy.
- If you want casual wireless mirroring, go with AirDroid.
Common Issues & Fixes
Q: Scrcpy says “device not found”?
→ Make sure USB debugging is enabled, and the phone is unlocked when connecting.
Q: Mirrored screen is black or flickers?
→ Disable battery optimization or enable “Stay Awake” in Developer Options.
Q: Laggy or delayed screen on Wi-Fi?
→ Switch to 5GHz Wi-Fi or reduce background apps.
