
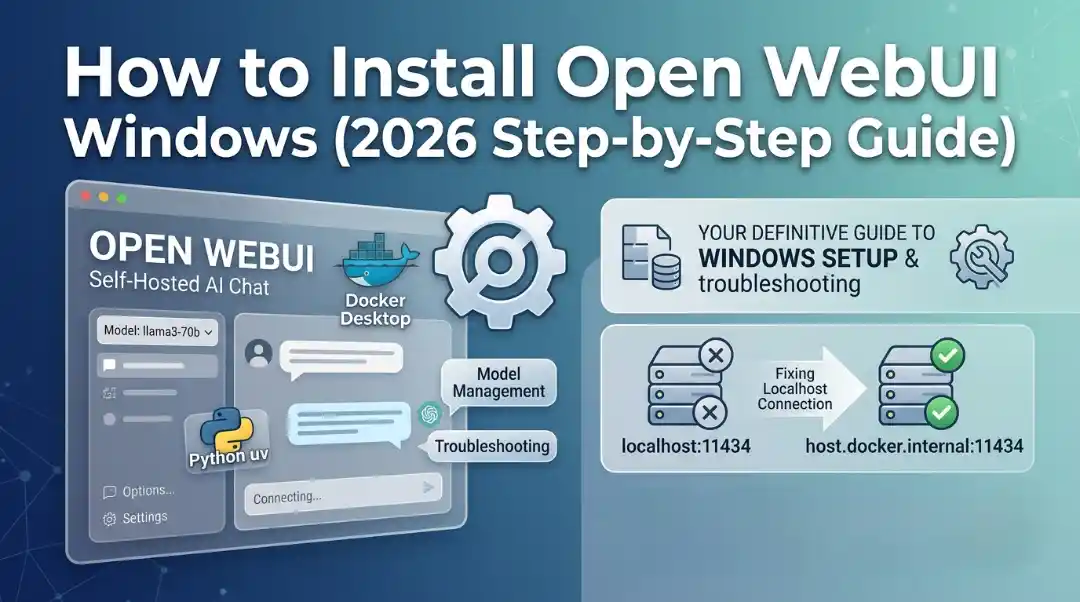

Open WebUI is a self-hosted, browser-based interface for chatting with AI models on your own machine. Installing it takes about ten minutes most frustration afterward comes from one thing: Open WebUI and its backend (usually Ollama) not finding each other. This guide covers both install paths, connects you to a model, and fixes the errors that actually show up.
What Open WebUI is (and isn’t)
Open WebUI is the frontend. It doesn’t run AI models itself — it needs a backend, most commonly Ollama, though it also connects to OpenAI, Anthropic, and any OpenAI-compatible API.
On Windows, it runs either inside Docker Desktop (which relies on WSL2, the Windows Subsystem for Linux) or as a native Python process — a distinction that decides which URL your backend answers to later.
Key takeaway: Open WebUI is a private, self-hosted ChatGPT alternative — your chats, documents, and settings stay on your machine, not someone else’s server. It’s a solid fit for privacy-minded users or anyone running several providers behind one UI; a poor fit if you just want the fastest way to ask a model something.
Prerequisites before you start
- Windows 10 or 11, 64-bit.
- For Docker: Docker Desktop, with the WSL2 backend enabled (default on modern installs — check under Settings → General).
- For Python: Python 3.11 or 3.12, or let
uvmanage it. - A model backend in mind — usually Ollama, or a hosted API key.
Note on WSL2: Docker Desktop runs containers inside a lightweight Linux VM managed by WSL2. You won’t touch it directly for a standard install, but if Docker Desktop won’t start, checking WSL2 (
wsl --statusin PowerShell) is a good first step.
Docker vs. Python: which install method should you choose?
| Method | Best for | Difficulty | Requires Docker? |
|---|---|---|---|
| Docker (recommended) | Most users; easiest to update and remove cleanly | Low | Yes |
Python (via uv) | Low-resource machines, quick tests | Low–Medium | No |
| Kubernetes | Multi-user or production deployments | High | No |
Docker is the recommended default — updates and uninstalls are a single command each.
Option 1: Install Open WebUI on Windows with Docker (recommended)
1. Get Docker Desktop up and running
Before start make sure you Install Docker Desktop from docker.com. When installing Docker Desktop, remember to keep the WSL2 integration checkbox selected.
2. Pull the official image in PowerShell:
Start Windows PowerShell and fetch the official image using the following command
docker pull ghcr.io/open-webui/open-webui:main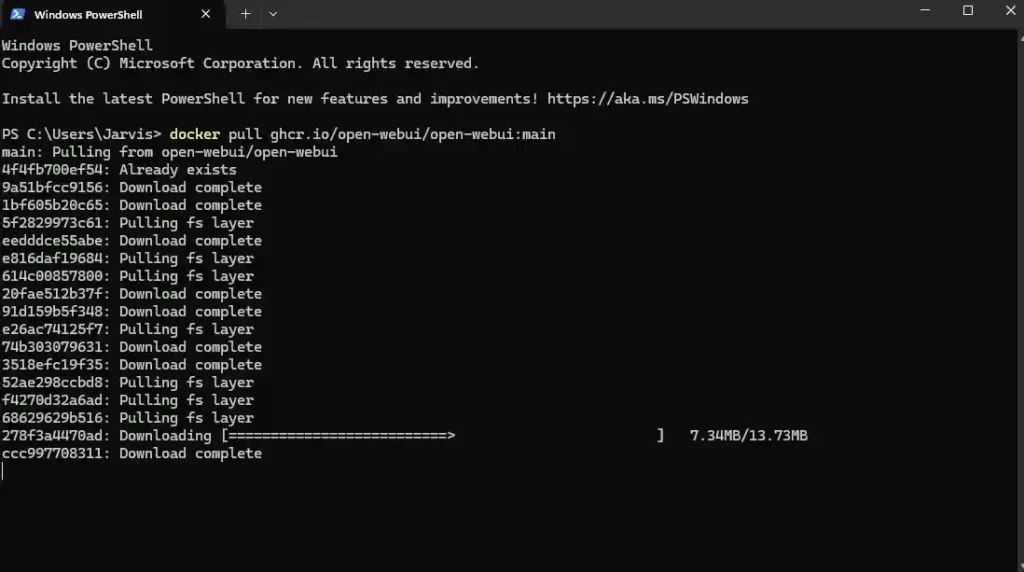
3. Run the container with persistent storage:
After the pull is completed, use the following command to initiate the Open WebUI with storage persistence and local network bridging:
docker run -d -p 3000:8080 -v open-webui:/app/backend/data --name open-webui ghcr.io/open-webui/open-webui:main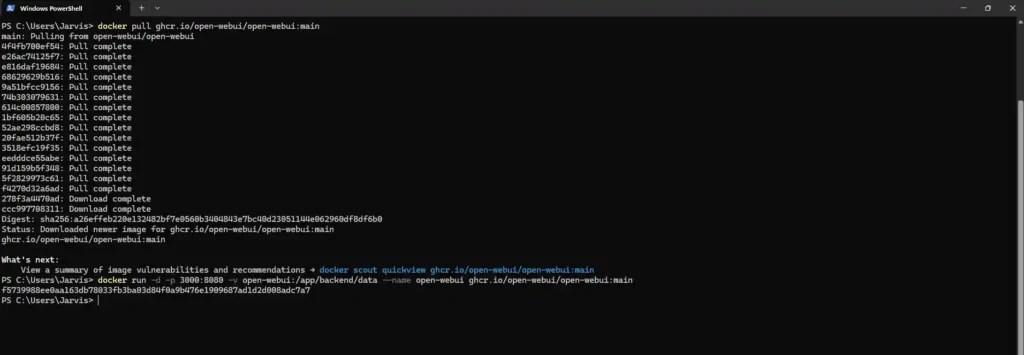
⚠️ Warning! Don’t forget about the volume flag. -v open-webui:/app/backend/data will save your chats and configuration files in a persistent volume. Without that flag, the data will be stored in the container, and you’ll lose all your chats after the next update or docker rm command.
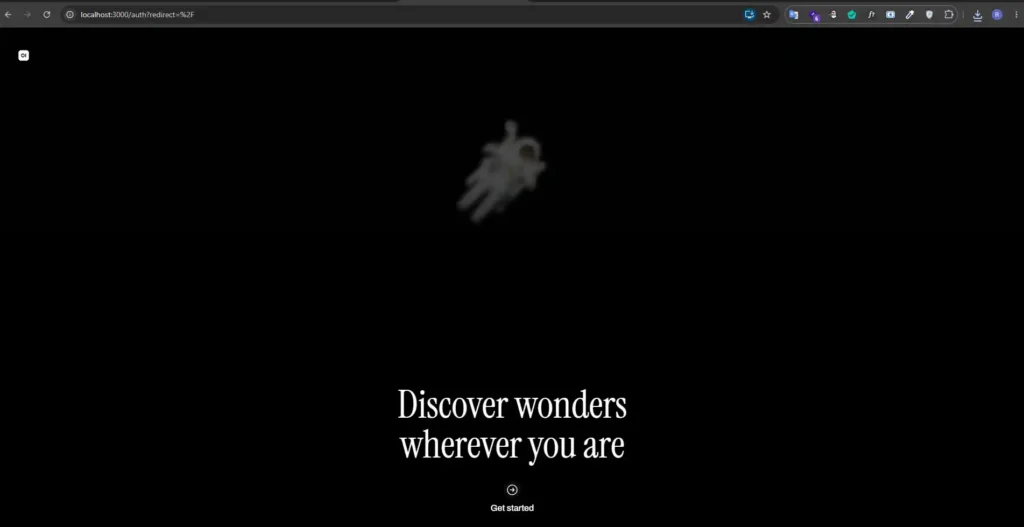
4. Launch the web interface.
Wait for 15 to 20 seconds for it to fully load, then visit the website at http://localhost:3000. The first user created will automatically become the Administrator, while all other user registrations will remain pending till approval from your end.
Option 2: Native Python install on Windows (no Docker)
If you’d rather skip Docker, use uv, a fast Python package runner. It needs Python 3.11 or 3.12 — 3.13 isn’t supported yet since some dependencies haven’t caught up.
1. Install uv in PowerShell:
Open Windows PowerShell and run this quick installer command:
powershell -ExecutionPolicy ByPass -c "irm https://astral.sh/uv/install.ps1 | iex"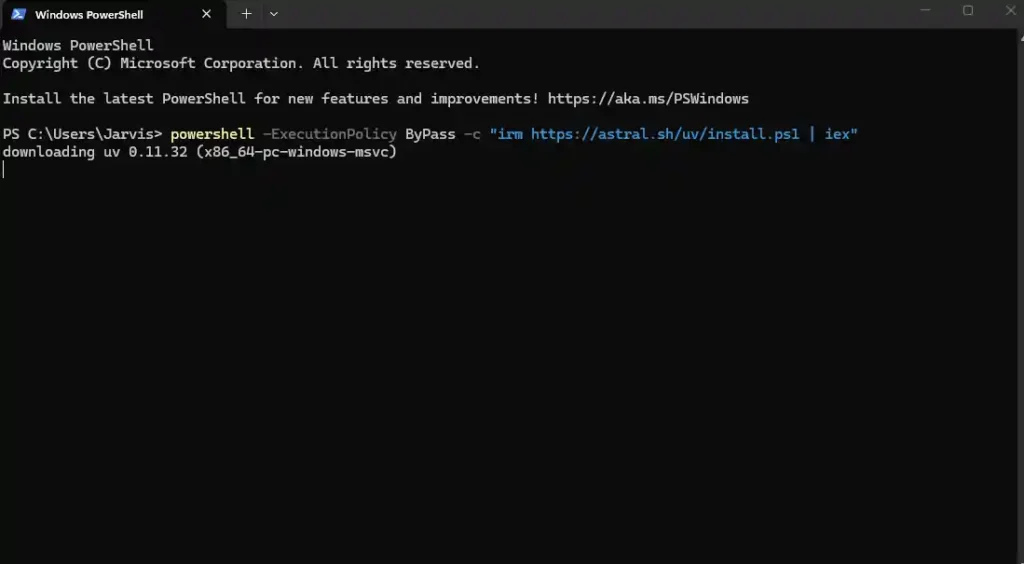
2. Set your data folder and start the server
Then set a persistent path for your chats and run the application:
$env:DATA_DIR="C:\open-webui\data"; uvx --python 3.11 open-webui@latest serve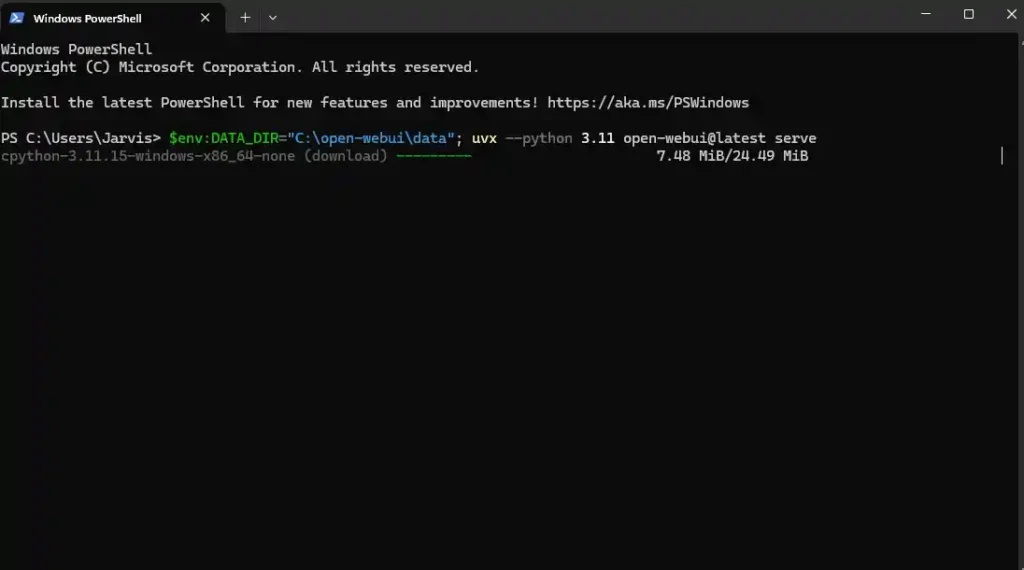
⚠️ Do not forget to set the DATA_DIR:
Without $env:DATA_DIR, uvx will create a temporary directory which is deleted when you exit the application.
3. Open the web app
Give the terminal a few seconds to kick off the backend, then head over to http://localhost:8080 in your browser.
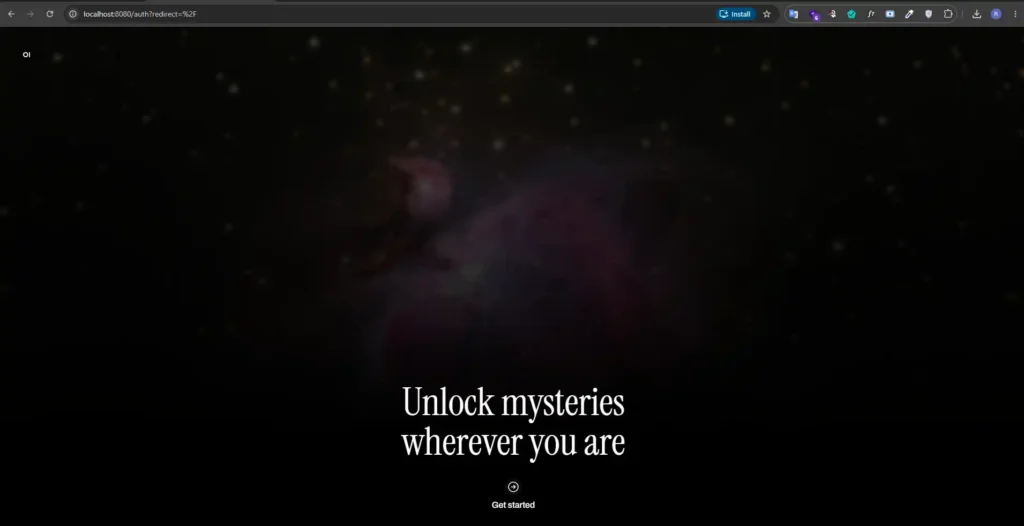
(Just remember to leave this PowerShell window open in the background—closing it shuts down the server!)
Connecting Open WebUI to Ollama on Windows
Open WebUI needs at least one model provider before you can chat. If Ollama runs separately from the bundled :ollama image, this is where most Windows setups go wrong.
Running Open WebUI natively via Python? http://localhost:11434 just works, since there’s no container boundary.
Running in Docker? localhost inside the container points to the container itself, not your Windows host. You need host.docker.internal:
docker run -d -p 3000:8080 --add-host=host.docker.internal:host-gateway -v open-webui:/app/backend/data --name open-webui --restart always ghcr.io/open-webui/open-webui:mainThen, in Admin Settings → Connections, set the Ollama URL to http://host.docker.internal:11434.
If Ollama lives on a different machine, point at its address with OLLAMA_BASE_URL at container startup:
docker run -d -p 3000:8080 -e OLLAMA_BASE_URL=https://your-server-address -v open-webui:/app/backend/data --name open-webui --restart always ghcr.io/open-webui/open-webui:mainFor a full Ollama walkthrough, see running AI models locally with Ollama.
Using Open WebUI after setup
Log in, click the model dropdown, and pick a model. With Ollama, pull it first (ollama pull llama3) so it appears in the list. Open WebUI also supports document uploads for retrieval-augmented chat once you’ve connected an embedding-capable backend.
Troubleshoot common Windows problems
Open WebUI won’t start. Check Docker Desktop is actually running, not just installed — most reports trace back to it being closed in the system tray.
Port already in use. If 3000 is taken, change the left side: -p 3001:8080, then visit localhost:3001.
⚠️ Warning — models don’t appear, or Ollama won’t connect. Almost always the
localhostvs.host.docker.internalmix-up above. Visithttp://localhost:11434in your browser first — if that fails, the problem is Ollama, not Open WebUI.
Browser page won’t load. Give the container 10–20 seconds, then check docker ps and docker logs open-webui.
Data disappears after an update. You ran the container without the -v flag — always include it.
Docker Desktop won’t launch. Run wsl --status and wsl --update in PowerShell, then restart Docker Desktop.
Open WebUI vs. LM Studio, Jan, and GPT4All
| Tool | Interface type | Best for | Backend flexibility |
|---|---|---|---|
| Open WebUI | Browser-based, self-hosted | Developers, multi-model workflows | High (Ollama, OpenAI, Anthropic, more) |
| LM Studio | Native desktop app | Non-technical users wanting a simple local chat app | Built-in local model runner |
| Jan | Native desktop app | Lightweight local chat, minimal setup | Built-in local model runner |
| GPT4All | Native desktop app | Private local chat with document Q&A | Built-in local model runner |
LM Studio, Jan, and GPT4All are single-purpose desktop apps you run directly. Open WebUI costs more setup but pays off with a shared team interface, multiple backends behind one UI, or browser access from any device on your network.
FAQ
Is Open WebUI free? Yes, it’s open source.
Does Open WebUI need Ollama? No — it’s the most common backend, but it also connects to OpenAI, Anthropic, and other OpenAI-compatible APIs.
Can it run on Windows 10 or 11? Yes, via Docker or a native Python install.
Easiest install method? Docker — updates and removal are one command each.
Can it run fully offline? Yes, with a local backend like Ollama and no external features enabled.
Key takeaways
Docker is the recommended path for most Windows users. Always mount a persistent volume, or you’ll lose data on updates. Inside Docker, use host.docker.internal, not localhost, to reach Ollama. Most “won’t connect” problems are URL problems, not installation problems.

No comments yet. Be the first to share your thoughts!